Nothing warms up a cold winter’s night quite like a cosy fireplace. A compact cast iron unit will do the job perfectly, adding a touch of charm and heat to your home, without forcing you to build a brick hearth and chimney. Cast iron fireplaces are durable, and retain heat for longer than most other units, radiating warmth even after the fire has died.
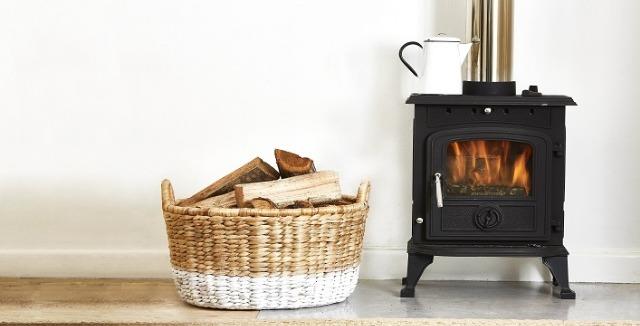
Builders Warehouse shares a guide and advice for installing your very own fireplace.
Most cast iron fireplaces, like the Megamaster Verano, are wood-burning stoves, where the metal reflects the heat back into the fire box, creating a glowing bed of hot coals. The Megamaster Verano also comes with a door that lets you see the flames as the fire burns, adding a warm, romantic environment to the room.
Note: Fireplace installation can be done as a DIY project, but it’s usually a job for an accredited professional. If you do it yourself, you should have the job checked by your local building control officer to ensure it complies with building standards. This is for your own safety: incorrect installation could result in a house fire or carbon monoxide poisoning.
What you’ll need:
- Megamaster flue kit
- Megamaster cast iron fireplace
- Jigsaw
- Screwdriver
- Angle grinder
- Flexikote silicone
- Weatherproofing gauze
- Galvanised insulated flue (125mm, 1.2m) x 2
- Galvanised end cap flue (125mm, 1.2m)
- Galvanised flue (125mm, 1.2m)
How to install a fireplace
Carefully follow these steps to safely and correctly install your cosy fireplace. It’s a two-person job, requiring, at times, one person on the roof and one person inside.
Step 1: Position the fireplace
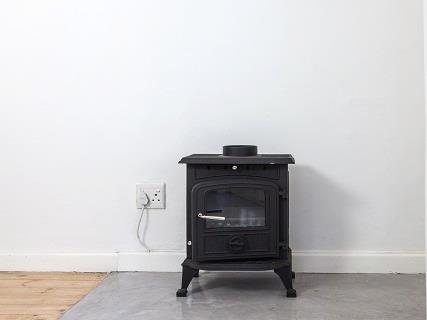
Where would you like your fireplace to be? Find a clear spot in your lounge or living room, and place the unit there, leaving 100 millimetres between the unit and the wall.
Step 2: Mark the chimney
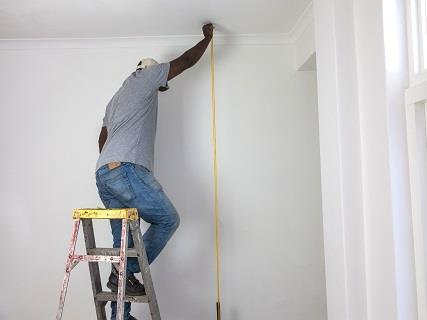
Using a plumb line (a heavy spanner on a string will do the trick), make a mark on the ceiling where the flue hole (chimney) needs to go. Drill a small hole, and then go up into your roof to check that there aren’t any beams in the way. If there are, you will need to relocate the fireplace. If not, then you’re good to go.
Step 3: Cut a hole for the flue
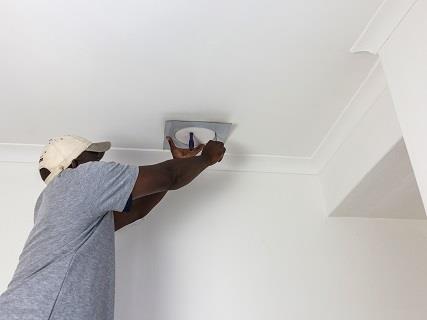
Using the frame provided, draw a circle on the ceiling and cut the hole using a jigsaw. Remember to use goggles.
Step 4: Make a hole in the roof
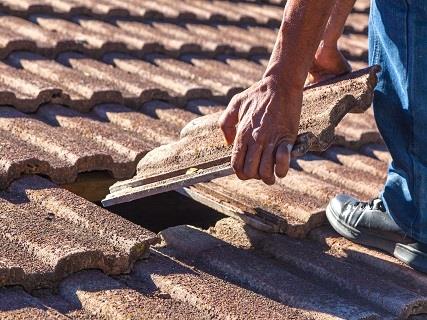
Remove the appropriate roof tiles to make a clear pathway for the chimney/flue.
Step 5: Connect the single flue
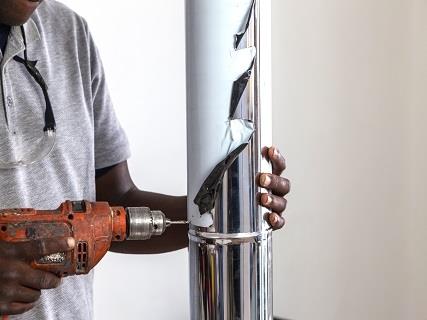
Now fit and join the flue pipes: the single flue will lead out of the fireplace, while the double flue will go up through your ceiling and out of the roof. The Megamaster flues will have to be joined together, using drill holes and a simple pop rivet. Make sure that the ceiling plate is slipped over the flue now.
Step 6: Connect the double flue
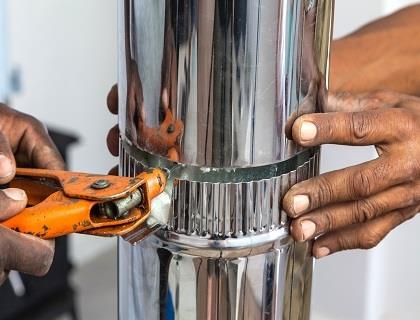
The double flue is more complicated: it has a layer of insulation to prevent overheating - and a potential disaster - in your roof. Join the pipes, drill the holes on the interior and pop-rivet them together. Now close the access panel and secure the outer layer as well.
Step 7: Fit the flue
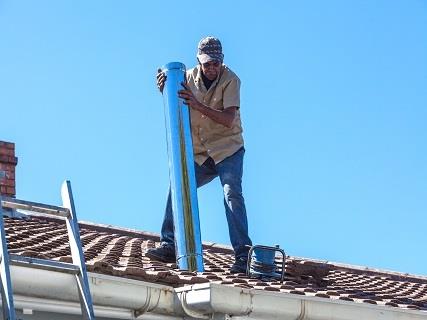
You will now have a fireplace, a joined single flue, a joined double flue, a hole in your ceiling and a corresponding hole in your roof. Drop the double flue down through the hole in the roof, and connect the double flue to the single flue.
Step 8: Fit the ceiling plate
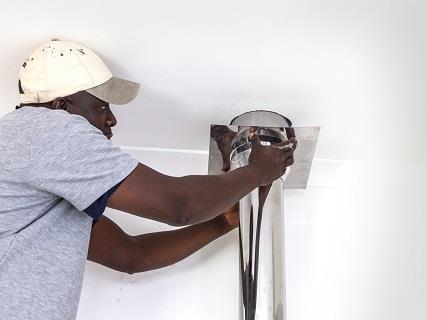
Slide the ceiling plate up along the single flue, onto the double, and then secure it to the ceiling. The plate has holes, so you only need to screw it into place using a standard flathead screwdriver.
Article courtesy of builders.co.za


