Make a room look taller with vertical panels. These are easy to create with just two paint colours.

Tools needed
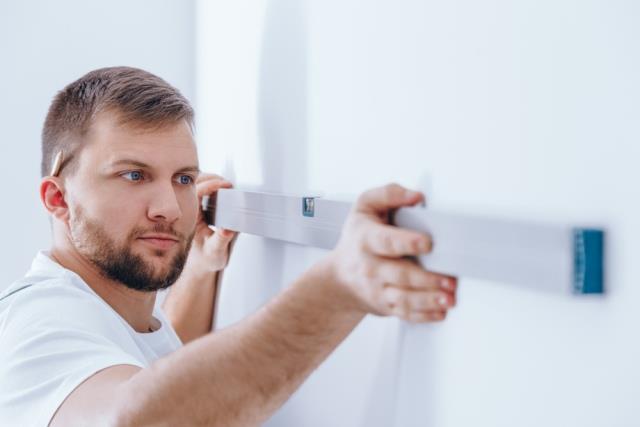
1. Spirit level
2. Pencil
3. Painter’s tape
4. Roller and tray
5. Drop sheet
6. 50mm paint brush
Materials needed
1. Two contrasting colours of acrylic paint
Here’s how…
Step 1
Lay down the first two base coats on your wall.
For this project, we used white for one wall and Dulux Truly Scandinavia for the other.
Step 2
Mark up the dimensions of your rectangles. This will vary depending on the proportions of your room.
The panels in this project are 300mm from the floor and 350mm apart. The width is 600mm and the height is 2 100mm.
Use a spirit level to make markings on the wall. For this project, a spirit level measuring 50mm wide was used. To make life easy, we marked both sides of the spirit level to give the width of the outer panel.
Step 3
Mask off your panels with painter’s tape. There should be two lines, one that follows the outside edge of your spirit level and the other should follow the inside edge of your spirit level.
Step 4
Once done, fill in the panels with two coats of the contrasting colour. On our white wall, we added grey paint, and on the grey wall, we added white paint. Do this with your choice of colours. Remember to allow your paint to dry between coats.
Step 5
Once dry, carefully peel off the tape to reveal the panel pattern.
Watch the video here to see how it’s done:
Article courtesy of www.builders.co.za.


