With today’s water restrictions, a leaky pond can waste a lot of water. Repairing a leaking pond may seem like a daunting task, but with the right product you can have it as good as new in no time. We offer a guide on using Sika Cemflex and membrane.

You will need:
- Sika Cemflex together with Cemflex membrane
- Portland cement (ask for a CemI 52.5R or 52.5N for best results)
- Wire brush
- Block brush or large paint brush
- Bucket for mixing
- Rubber gloves
- Dust mask
- Spatula (small quantities) or mechanical mixer and paddle (quantities exceeding 5 litres)
Cemflex is available in 1, 5, 25 or 200 litre containers. Quantities will be determined by the size of the area being repaired. Cemflex mixed with Portland cement and water forms an effective waterproofing slurry that is used in conjunction with Cemflex Membrane for reservoirs, shower floors and walls, balcony and verandah floors (under tiles) and retaining walls.
Here's how:
Mixing guideline:
1 litre of Cemflex + 1 litre of water + 3.4kgs of Portland cement = 3.2 litres of waterproofing slurry that will cover an area of 1 square metre (with membrane).
Step 1
Empty the pond and make sure that it is dry before you start. Clean the area with a wire brush and wipe away any dust or loose material. Ensure that there is no algae or plant growth. Repair any visible cracks before applying the waterproofing system.

Step 2
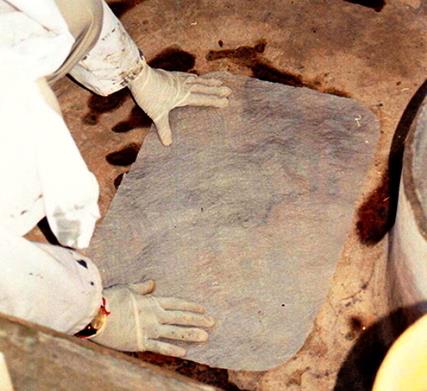
Pre-cut manageable pieces of Cemflex membrane for the required area.
Step 3
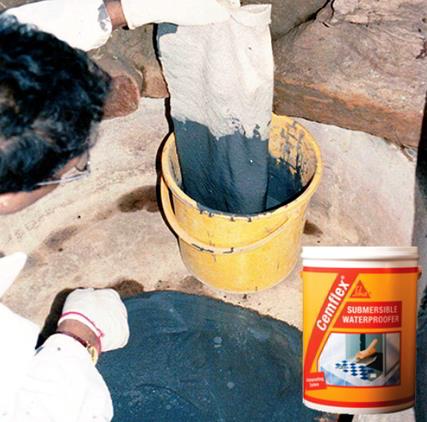
Using the mixing guideline, prepare the products in a bucket to form the waterproofing Cemflex slurry. First mix the required amount of Cemflex and water and then add the correct amount of Portland cement slowly, while mixing, to avoid lumps forming. You will now have a slurry that is ready to be applied.

Step 4
Dampen down the surface, making sure that there is no standing water. While the surface is still damp, apply a coat of the slurry using the block or paint brush.
Step 5
Thoroughly soak the membrane in the slurry. Remove the membrane and squeeze lightly before placing over the damp substrate with your gloved hand, smoothing off with the brush to eliminate air bubbles. Overlaps of adjacent fabric should be at least 50mm.

Step 6
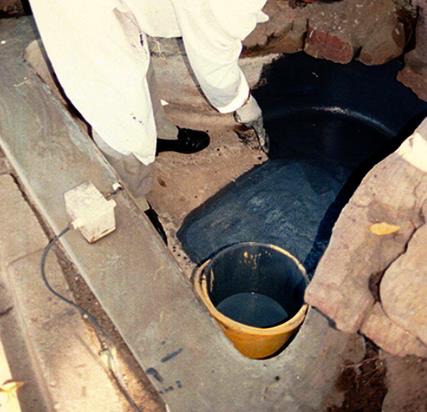
Once the entire area is covered and all the air bubbles have been removed, apply a generous second coat of the Cemflex slurry and allow to dry for 24 hours.
Finally
After 24 hours, mix a new batch of the Cemflex slurry and apply the final coat to the completed area. Freshly applied Cemflex should be protected from damp, condensation and water for at least 12 hours. Allow at least 24 hours before filling your pond with water. Please take note that cold weather conditions can have a big effect on drying times, so please take that into account when starting your project.

Article courtesy of www.home-dzine.co.za


