Please note that you are using an outdated browser which is not compatible with some elements of the site. We strongly urge you to update to Edge for an optimal browsing experience.

DIY | Create a wooden ring vase in 5 easy steps

06 Mar 2023

While there’s plenty to be said for picking up a great vase at the store, sometimes that just-right vase you’ve been searching for just can’t be found.

Enter a DIY vase: With a little effort, you can create the decorative detail you’ve been searching for to complete your bookshelf or side table styling.

SOURCE: The Spruce

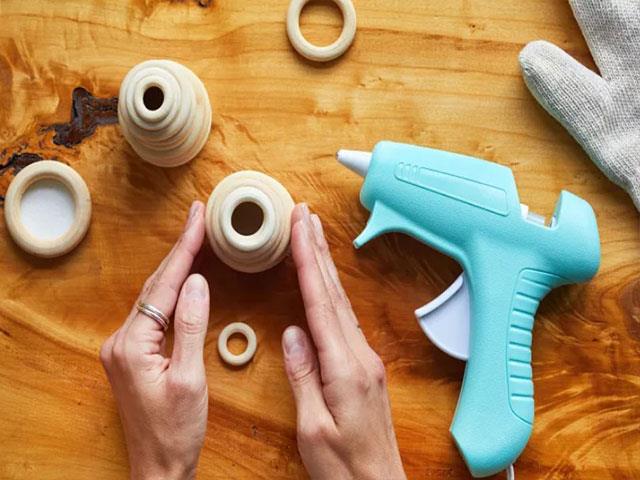
In their One Thing at Home video series, the senior social media editor at The Spruce, Emma Glubiak, shows us how to use simple wooden rings—like you can find at any craft store—to create on-trend geometric vases. By stacking rings of various sizes, you can create casual mod vases that are bursting with personality and potential.

 
Make sure your rings aren’t too small so you have some flexibility in what you can arrange inside your vase. The wider the rings, the more options you have, though you could always make both large and small vases for a more dynamic final arrangement.
 
What You'll Need

Equipment / Tools

Scissors

Hot glue gun

Heat-proof gloves

Paint brush (optional)

Materials

Leather, cardstock, or faux leather sheet

Wooden rings of various sizes

Paint (optional)

Instructions

SOURCE: The Spruce

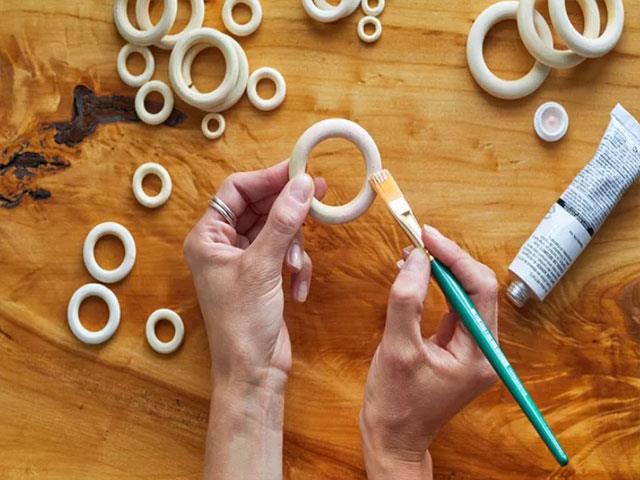
Paint Rings (optional)

If you’d like your vase(s) to be colorful, paint the rings before you begin building each vase. While you can paint them after the vases are built, painting the rings before they’re attached to each other allows you to get more coverage for a more uniform look.1. Paint Rings (Optional)

Leave the rings as-is for a minimalist, natural look, paint each ring the same color for a bold pop of color, or paint the rings different colors and mix and match them for rainbow vases for a more boho-style look.

Allow the paint to dry completely before continuing.

SOURCE: The Spruce

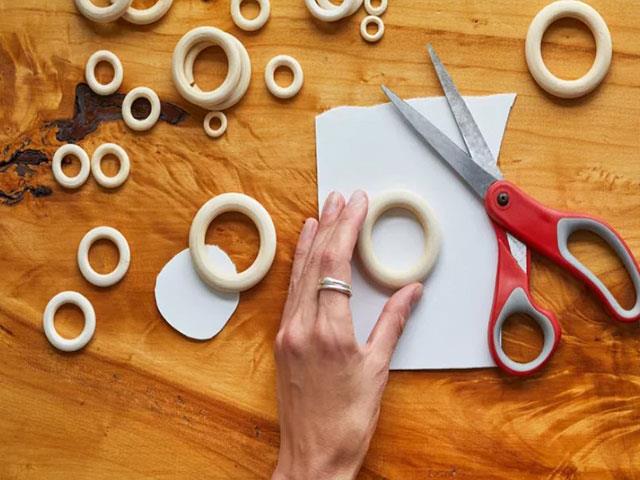
2. Cut sheet to size

Place your first wooden ring on a sheet of leather, cardstock, or faux leather. This will be the base of your vase.

Cut around the ring so the leather is the same size as the ring. Err on the side of the leather being slightly smaller than the exterior of the ring: As long as the leather covers the entire center opening of the ring, it will work.

SOURCE: The Spruce

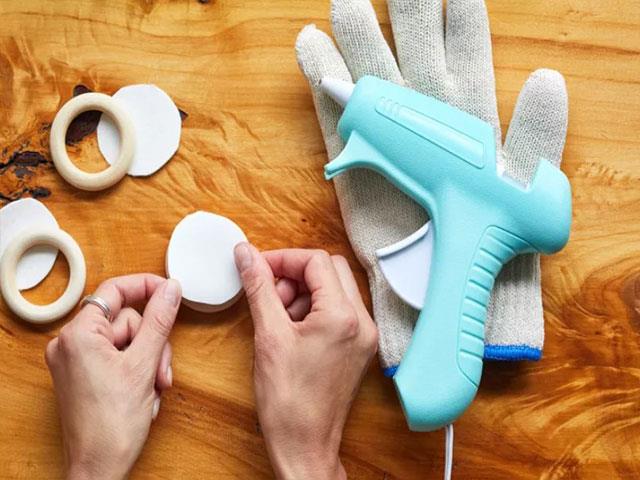
3. Glue cut-out to ring

Use the glue gun to attach the cut-out circle to the bottom of the ring. Allow the glue to dry completely before continuing.

SOURCE: The Spruce

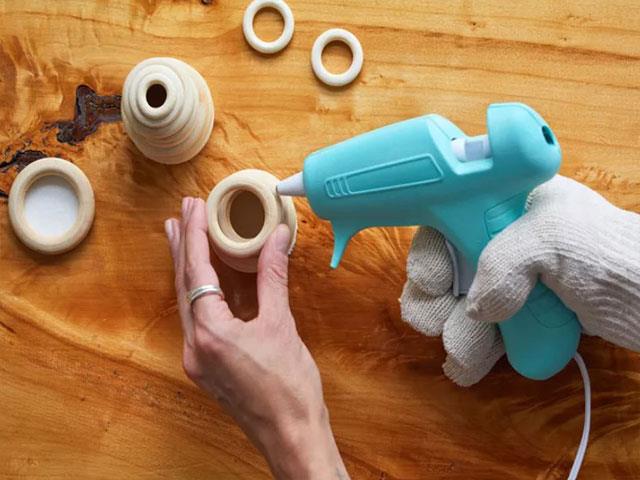
4. Stack rings

Stack the rings, gluing between each layer to attach the rings to those above and below them, until your vase reaches your desired height. Take care to line up the open centers in the middle of each ring to ensure your vase has a neat body and a straight exterior.

Be careful handling the already-glued rings as you stack more on top. If the rings are moving a lot before the glue is dry, you may want to take the time to allow the glue to dry between each layer before adding a new ring. The glue will also be hot: Wear heat-proof gloves while handling the vase while the glue is drying, or allow the glue to dry between each ring.

Depending on your desired look and the sizes of your wooden rings, you can create pyramid-shaped vases, tall cylindrical ones, or vases with curved shapes.

5. Add last ring

Take a small final ring and glue it at the top of the vase to give it a slightly tapered look. Make sure your small ring is still larger than the vase’s opening, so it doesn’t fall through the larger rings.

Once the glue has dried, you’re free to use and style your DIY wooden vases however you like. Fill them with waterless floral arrangements or dried florals (or anything else you like) and arrange them somewhere you can show off your handiwork.

 
Want all the latest property news and curated hot property listings sent directly to your inbox? Register for Property24’s Hot Properties, Lifestyle and Weekly Property Trends newsletters or follow us on TwitterInstagram or Facebook
Print Print
Top Articles
Holiday homes in prime destinations offer a unique opportunity to blend leisure with investment. They often appreciate due to their desirable locations and provide the potential for consistent rental returns during peak travel seasons.

Discerning investors and those seeking an idyllic lifestyle are turning their attention to Knysna, and Seahorse is perfectly positioned to meet this growing demand.

Whether you’re searching for a contemporary home or seeking an opportunity in one of Cape Town’s most dynamic precincts, Umberwood in Burgundy Estate offers the perfect blend of modern living, thoughtful design, and long-term value.

Loading