Creating your own picture frames at home can be a fun and rewarding DIY project. With just a few basic tools and materials, you can make custom frames that perfectly match your decor and showcase your favorite photos.
You can add a personal touch to your home decor and also save money when you make your own frames instead of purchasing pre-made frames. As an added bonus, you'll know you made something beautiful and unique by hand.
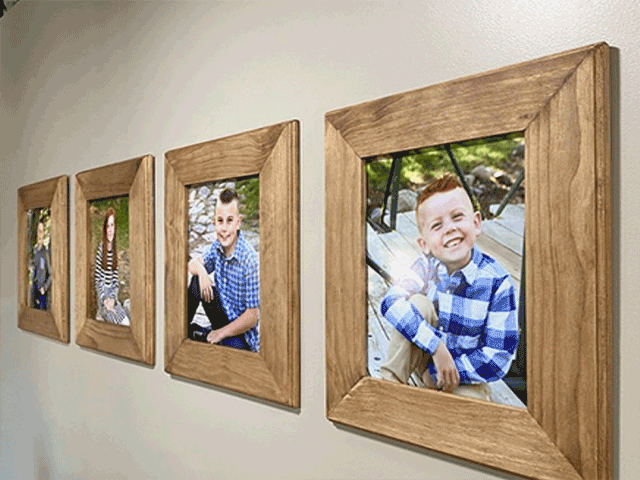
Home-Dzine suggests using a Kreg Pocket Hole Jig to make these easy wooden picture frames to hang on the wall for all your family photos.
Grab yourself some 94mm-wide PAR pine from your local Builders store, as well as a wood stain if you want to tint the frames a different colour, paint in your choice of colour, or use a tinted varnish to finish off the project. Making these frames is inexpensive and fun;.you can make 4 picture frames in 30 minutes. You can also arrange to have 5mm glass cut to size at Builders so that the picture frames are ready to hang on the wall as soon as you're done.
You will need:
94mm-wide PAR pine - cut to the length and height you want for your picture frames
Wood glue
Wood stain or paint
Tinted varnish
Picture hangers
Tools:
Kreg pocket-hole jig
32mm coarse-thread pocket-hole screws
Router plus assorted router bits
Clamps
Workbench
Tape measure and pencil
Safety gear
Here's how:
Step 1 - Cut the frame pieces
Cut the pieces for the sides, top, and bottom of the frame. You can decide on the exact size that you want for your frames. If you decide on this beforehand, you can have the PAR pine pre-cut at your Builders store and it will make assembly easier and faster. All the frame pieces have a 45-degree angle at both ends. The diagram below will make it easier to see the angle direction of the 45-degree cuts.
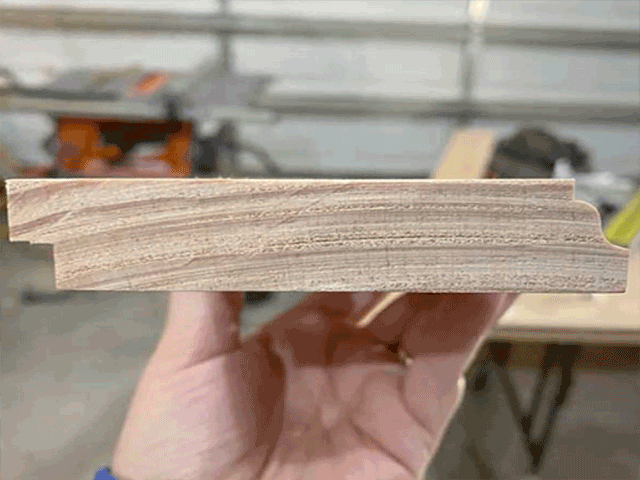
Step 2 - Cut the ledge or rebate
Using a router and cutting bit, cut along the inside edge of the frame pieces to make a ledge or rebate that is 5mm wide and 5mm deep. This will support the glass in the frame. Do not forget to include this in your calculations when having the glass cut to fit.
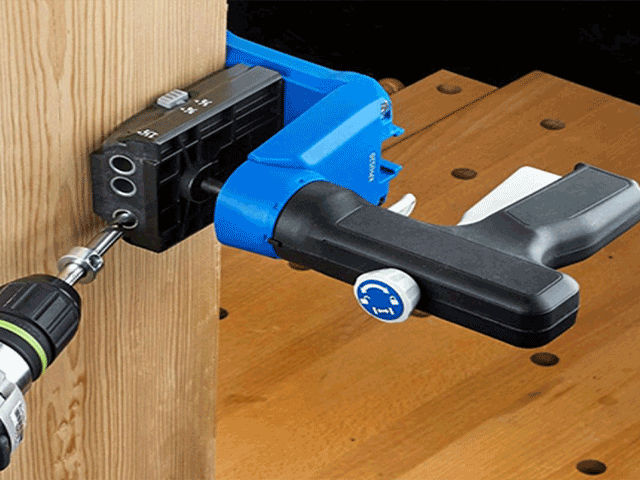
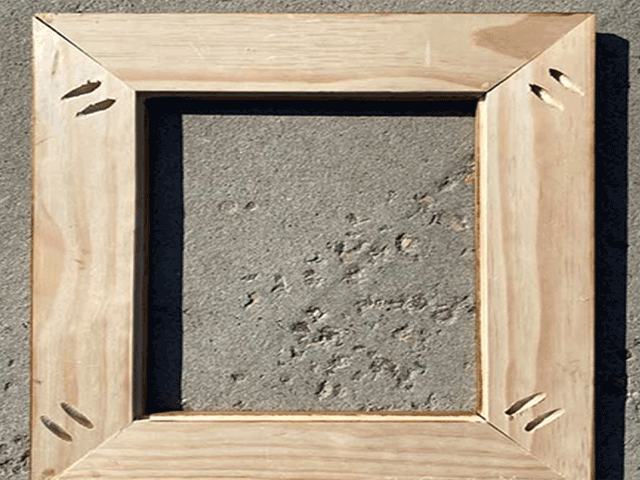
Step 3 - Drill pocket-holes
Use your Kreg pocket-hole jig to drill [2] pocket-holes in the side pieces as shown above. Try to ensure that they are as close to the centre of the pieces as much as possible to avoid splitting any wood close to the edges.
Step 4 - Assemble the picture frames
Use wood glue and pocket-hole screws to assemble the frames. If you have frame clamps or strap clamps, use these to clamp the frame overnight. If you do not have any clamps, you can use painter's tape to hold the corners together firmly until the glue dries.
Step 5 - Finishing
Apply your choice of finishing to the assembled frame.
Add a picture hanger to the back to hang your finished picture frame/s on the wall.
Want all the latest property news and curated hot property listings sent directly to your inbox? Register for Property24’s Hot Properties, Lifestyle and Weekly Property Trends newsletters or follow us on Twitter, Instagram or Facebook.


